One of the selling features of the Suntour Epicon X2 is the fact that it can be set to one of four different travel lengths. This is useful if you want to replace your fork but are not sure whether to replace with the same travel or whether to try something longer (or shorter).

The travel adjustment isn’t a simple switch on the outside of the fork though so you will need to get your tools out and take your fork to pieces to do it. Don’t let this put you off though as with the right tools, a bit of patience and care you should be able to sort it fairly easily.
My Epicon was delivered set to 140 mm which considering my old fork supplied with the bike was 100 mm, is significantly longer. I decided that moving up to 140 mm would change the geometry of the bike a bit too much. Potentially it could even put too much additional strain on the frame’s headtube too, but I did fancy slackening the head angle a little by fitting a longer travel fork so I decided to set my Epicon X2 to 120 mm.
Of course I still have the option to change back to 140 mm if I fancy trying even more travel or even dropping down to 100 mm matching the XCR fork that I’ve taken off. I believe that having the option is a good thing, even if you don’t end up needing/using it.
If your fork is already fitted to your bike then fortunately there’s no need to remove it to make this adjustment. If you prefer to then feel free to remove the fork and also if you are adjusting it before first fitting like I am then it’s sensible to do this before fitting it to the bike. You will however need to remove your front wheel so let start there, if you can’t do that without instruction then maybe you should leave the fork for now

You will also need to let all the air out if the fork, so twist off the cap labelled air and let the air out of the fork by depressing the central pin of the valve located under the cap. The cap should simply unscrew in the usual anti-clockwise manner. You can let the air out before or after you take off the wheel, it shouldn’t make any difference.

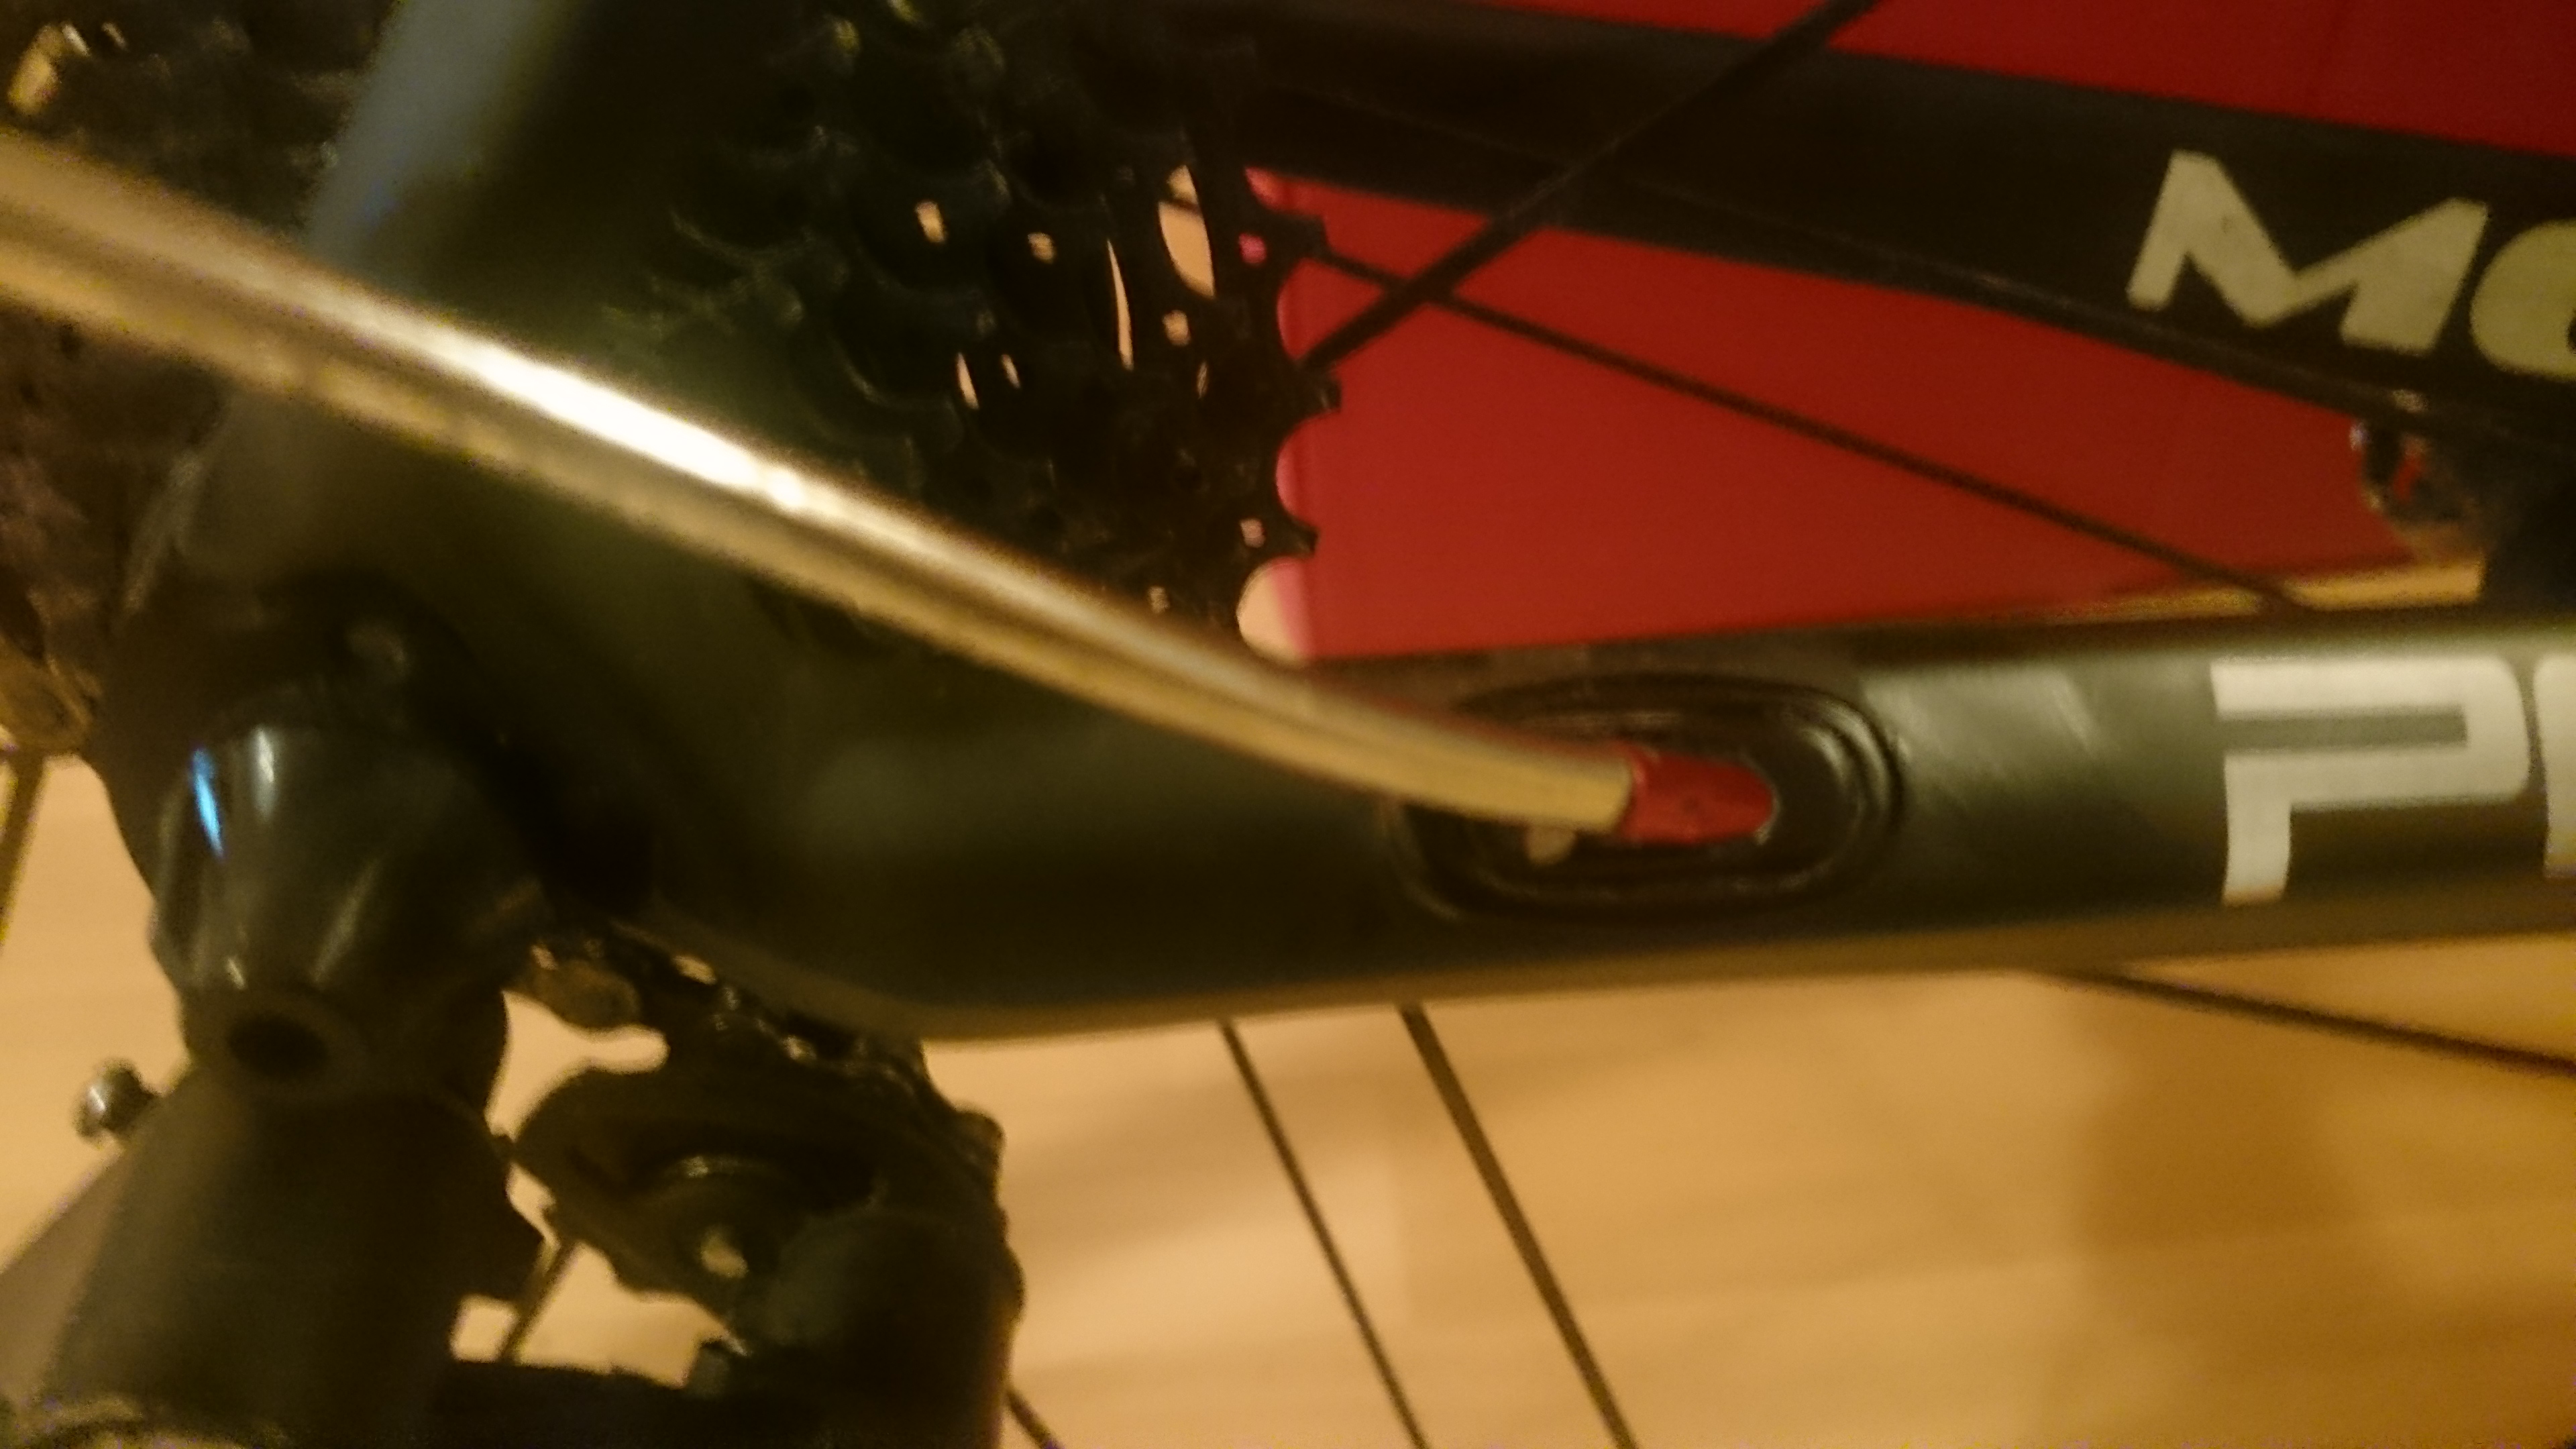
Now you need to access the bottom of the fork so a work stand or turning the bike over will help. On the bottom of the fork legs you will have a rebound dial on one side and an Allen head bolt on the other. Pull off the red rebound adjuster and carefully remove the little o-ring on the shaft beneath. Put these safely in a pot or tray so that you can’t loose them.
Then unscrew the bolt on the other side so that there’s a few mm of exposed thread. Next take a soft headed hammer (plastic, rubber or soft wood – Wooden Mallet) and tap the head of the bolt firmly. This is to gently loosen the lower legs of the fork so that they will slide off with a minimal effort. You can now remove the bolt completely and place it in the safe keeping pot. There should be no need to tap the rebound adjuster side with the hammer.

On one side of the fork you will see a cap with flats for a spanner, from my picture it looks like a 23 or 24 mm spanner will fit although I just used a large adjustable. Unscrew this cap from the stantion and you will be able to withdraw a shaft from inside that has a spring around it. You can take this shaft out completely from the stantion.

You can now pull back the spring to revel a set of holes that go through the shaft a black plastic collar attached to the shaft. There is a pin that goes through the collar and locates the collar on the shaft. These holes represent 80 mm, 100 mm, 120 mm, and 140 mm, with 140 mm being at the end of the shaft and where my collar is fitted in the picture above. To change the travel you just remove the pin and slide the collar to a new hole on the shaft.
Removing the pin can be difficult though and it’s very important not to use something sharp or with a point. Preferably use a pin punch/driver like one of these – Faithfull Pin Punch Set as this will make a firm even contact with the pin to push it out without damage. You place the punch onto the pin and hit the butt of the punch with a suitable mallet – Wooden Mallet. If you damage the pin then your £200 fork is rendered useless by the lack of a relatively tiny piece of metal. You can probably get a replacement pin from SR Suntour but it’s best not to need to!
Once you’ve moved the collar to your required travel position then you just need to rebuild the fork in the reverse of how you took it to bits. Hopefully you used a pot to keep all the screws and o-ring etc together like I suggested and you should have it back together in no time. Make sure to put some light grease on the shaft before you put it back and also on all screw threads to help keep out moisture. And like all nuts and screws, don’t over-tighten, there is no need.
Finally, fit your fork back onto your bike if you need to, pop the wheel back on and then pump up with some air. I’m only running around 70 psi in my fork, but then I am quite lightweight. The maximum pressure is 180 psi according to the user guide. Once you’ve got all this done it’s time to get out and ride and of course enjoy yourself.


March 24, 2013 at 12:36 am
Hi, can you explain how to remove the red rebound screw in details? Thanks
March 25, 2013 at 9:56 am
In detail – ‘PULL’.
It’s held on by an o-ring so it will be quite tight. If you can’t get sufficient grip on the knob to be able to pull it off then try squeezing the tip of a thin flat blade screwdriver behind it and prise it off that way.
April 16, 2013 at 9:49 pm
How did u set up the sag? what PSI would you run at 100mm. 165lb rider. for riding technical rocks and roots? BTW, thank you for posting this. Suntour is useless. I asked about this fork when i called the North American Service center, they had no clue about anything on it. They were amazed I even had this fork state side.
April 19, 2013 at 8:25 am
I set my sag by feel. Basically I started with a highish pressure (around 120psi iirc) and then reduced it bit by bit. Each time, I held my brakes and put my weight over the stem and pushed down hard to compress the fork as much as I could. Once I got a good 2/3 to 3/4 travel like that I used this as a starting point. Then adjusted up or down as needed from feel during rides.
I’m only 68 kg though so quite light really.
May 13, 2013 at 8:04 am
Great article, very informative. There is also a video on the suntour website: http://www.srsuntour-tuning-base.com/index.php?screen=ho.home&postingID=108&sid=1#
Both taken together should help. I’m going to ajust my new fok today. Going the opposite way, from 100mm to 140mm!
May 13, 2013 at 9:32 am
Thanks. My fork has just developed a rattle in one of the lower legs, something has clearly come loose. So it’ll be apart again shortly and I’ll post something else once I make a discovery!
May 13, 2013 at 2:35 pm
Job done. Followed your excellent instructions and managed with no real drama. Changed the travel from the supplied 100mm to a longer 140mm suitable for the all budget full suss all mountain machine im building up based on a classic Marin frame.
One thing you didn’t mention in your article is that after taking off the red rebound adjuster cap and o-ring you need to remove the nut on the rebound adjuster side too otherwise the stanchion on that side wont pull out. I used a 10mm socket to do it on mine.
I would also say that getting the small pin out was a bit of a job – it was very tight and I had to be very careful not to damage it. It needed more force that I expected with the mallet and punch. I didn’t have aces to a vice, so could have done with another hand to hold it all still. Getting the little beggar back in was even more of a challenge. Had to go very very slowly to avoid damaging it. I may contact SRSuntour to see if I can purchase a couple of spares, just in case I decide to tinker again and damage it! Next step, get it onto my bike.
May 13, 2013 at 2:45 pm
Oh, a quick comment for Ed Fitz, asking about setting sag. Best to do this on the bike. In general sag should be set to be around 20-30% of the maximum travel of the fork. So if you have a 100mm travel fork, it should be around 20-30mm.
Easiest way to set it up is to put a cable tie round the stanchion, tighten it up (but not too tight) then slide it down to the bottom of the stanchion. Next, sit on the bike in your normal riding position and weight the bars as if you are riding (prop yourself up against a wall or something). The fork will sag under your body weight and push the cable tie up the stanchion. Hop off the bike without putting any additional weight on the fork, then measure the distance up the stanchion that it has moved. If it is more or less than the 20-30% then add or remove some of the air to adjust. You can fine tune it to suit your riding of course!
On my trail hard tail, I run a 120mm travel Suntour Raidon at about 85-90psi and get just about the right amount of sag, but with the rebound set very low.
May 22, 2013 at 10:58 pm
thanks VeeDub. I found that for me being 165lbs and with the trails and riding style, i have it set at 110psi and only bottom out when i get carried away on some jumps. im quickly learning how to work the bikes lol. im in the process now of changing the bottom bracket, cassette, and chain on my wifes hardrock pro disc.
May 31, 2013 at 10:00 pm
Hi dude, I just want to ask, don’t you have a PDF version of the manual of this fork? I’ve been looking for it but without positive results =/, or at least a weight vs psi table (not sure if you will get my idea) I need to know if I’m missing some lbs on my fork atm hehe.
Thanks!
June 14, 2013 at 2:32 am
Click to access download.php
June 19, 2013 at 1:20 am
Thanks! 🙂
June 19, 2013 at 5:43 am
That pdf submitted by Jermaine is for the 2010 fork, so although it’s useful because there are similarities with the newer forks it shouldn’t be taken as law! Just a warning!
June 22, 2013 at 3:22 pm
Were you able to find out what the rattle was in your shock?
June 23, 2013 at 6:35 am
Yes, it went hand-in-hand with my lockout having stopped working too. The damper must have slowly unscrewed itself over time and then finally fallen apart within the leg. So I got some more oil, refilled and refitted. All good again now!
July 18, 2013 at 12:57 am
Yes my lockout stopped working once I changr the travel to 100 too 140 any helo would be great
August 2, 2013 at 12:52 am
Same here, any help would be awesome.
December 17, 2014 at 6:38 am
My lock stopped working too. As the only thing I did to the damper was move it, if figured this might be the solution.
I removed the air so I can move the fork freely across it’s travel. After a several times of cycling the fork from fully extended and fully compressed while changing between locked/unlocked position the lockout started working again.
September 17, 2013 at 8:01 pm
You might want to try removing the lock out bits rom the top of the fork and re-installing it and / or setting the tension on the cable (if it the remote lock out). Not sure about the switch operated version as mine is the remote lockout. On the remote lock out, if the cable tension is wrong, then it wont work – too tight and the fork is permanently in the lock out position, too slack and it wont lock out!
July 18, 2013 at 12:58 am
Sorry about the spelling I just typed it on the phone and didn’t look
September 16, 2013 at 6:50 pm
Can I change travel of epicon x2 rld fork?
September 17, 2013 at 7:07 pm
The model of my fork is epicon x2 rl-r ( with 9 mm Axel) my fork is similar to yours, but mine just Got remote lock out. Can I also change the travel?
September 17, 2013 at 7:58 pm
Yep, you can. Mine has the remote lock out too. You just need to remove the lock out cable and tensioner from the top, then proceed as per the instructions here. Cant quite remember how to do that (and its raining, dark, and the bike is out in my bike shed, so i’m not going out right now to look), but its a 30 second job to remove the lock out stuff.
September 23, 2013 at 8:15 am
I cant remove the pin from the tube, can anyone help me with it?
September 23, 2013 at 10:10 am
Its a bit of a challenge if it is tight. I used a small metal punch (matched to the diameter of the pin), as suggested by Muddygoose in his post above, and spent a long time tapping it with a hammer. I started off very gently, and got progressively more aggressive until it started to move. I was very scared that I might damage something (the pin, the internals of the fork etc., so I took it very steadily until it moved. Best if you have someone to hold the fork still, or a suitable vice to clamp it. If you think getting it out is a challenge, wait until you try to get it back in – That was the trickiest bit for me.
September 24, 2013 at 8:36 am
Good reply from veedubdave. Indeed it is a tight fit but it needs to be otherwise there’s the possibility of it coming out during use and you wouldn’t want that! Just take your time, make sure you have a pin punch that fits well, a clamp/vice is almost a requirement and if it’s a well used fork then a bit of spray grease might help.
September 27, 2013 at 7:52 am
I tried again, this time with mallet, vice and a little WD40 to smooth-en thing up. Yet the pin won’t budge. I tried continuous tap and later got more vigorous still no avail. the pin head even got dented yet it won’t budge
April 20, 2014 at 5:35 am
Initially, i had issues with the pin as well. It took harder knocks to get it out out the lock hole. I got a little nics on the pin, but eventually i got it out and converted my fork to a 140.
December 18, 2013 at 7:18 pm
hi, my forks recently started making a noise ( epicon x2 15mm maxle manual lock out) so i stripped them down and found the rebound cartridge had come apart and all the oil had escpaed, does anyone know what oil and how much oil as i cant seem to find any info anywhere, thanks
December 18, 2013 at 11:35 pm
That happened to mine at the end of a ride in Kielder Forest. I used Juice Lubes fork oil. I went for 7.5 wt as I’m a light rider (<70kg), I understand that the factory filled oil is 10 or 15 wt I think IIRC.
As for volume, just fill it up and see how the lock out is. If you have too much oil in then the fork will feel locked-out when it isn't and if you have too little then it won't lock-out sufficiently. You can do this with the cartridge out of the fork, in your hand, there's no need to reinstall it to test.
April 7, 2014 at 10:26 pm
Hi.
Could you please help me, I’ve done everything exactly as explained, in the end minutes after pumping the air it loses pressure.What could I have done wrong?
August 12, 2014 at 3:23 am
have you tried refilling oil in your air chamber? been that problem before and that oil thing did the trick
August 10, 2014 at 5:32 pm
Hi guys, I have the same fork and it’s set at 140mm. The issue I’ve got is when I set the pressure at 100psi the available travel shortens. The stanchion measures 135mm, if I pump it up to 140psi the fork stanchion shows well over 140mm.
Fundermentally I’m losing travel if I set the correct amount of sag. Anyone else had this issue?
August 12, 2014 at 3:17 am
hi, nice post you have their guys big help… iv done changing my epicon to 140 travel and it was cool.. just wondering if i could still have it to 150 or 160 mayb.. is it possible? was thinking bout removing the black plastic collar not using the pin anymore.. will it do the trick?
October 5, 2014 at 11:33 am
Man i heard the 2015 epicon is no longer adjustable. Can anyone confirm this is bs? Otherwise i need to keep shopping for a fork that is.
October 7, 2014 at 1:05 pm
It’s not 2015 yet and as far as I can tell from the Suntour website all the forks listed are still 2014. This version for instance – http://www.srsuntour-cycling.com/bike/forks/Epixon-TR-LO-R-15QLC-26-4148.html – model year is listed as 2014 and from the exploded diagram it appears to still have the ‘pin and holes’ setup. The travel is listed as 130, 140 or 150. I expect that this fork is available as 3 different travel lengths but the only actual difference being where the pin has been set to.
October 12, 2014 at 4:37 am
This worked for my Axon Werx ELD QLC15 fork. It was really easy! For reference, the Axon only has two holes for 80mm and 100mm.
October 12, 2014 at 6:36 am
Thanks for the info. That’ll be really useful for someone out there I’m certain.
October 27, 2014 at 8:08 pm
Hello, Firstly a marvellous review with useful pictures on adjusting the travel on the epicon forks, My son has just got a bike in bits which has white Suntour Epicon forks with manual lockout we think they are 2013, the bottom bolts were out of the forks hence why im here for help.
is one fork just air (requires no oil) and the other with the lockout takes oil and if so how much ?
October 28, 2014 at 3:22 pm
Thanks for your kind comments.
The two legs of the fork are completely different internally. One houses the air spring and the other houses the oil damper, so yes in that respect only one side has oil. However that’s not to say that the other side should be ‘dry’ as there are still moving parts (shafts and seals etc) and these do need to be lubricated; usually by grease rather than oil though. The oil damper is a sealed cartridge within the right leg; so unless your cartridge has come apart there shouldn’t be a need to fill with oil.
If you do need to refill the cartridge then officially it’s 54cc but it’s just a case of filling and seeing how it feels (by hand); topping up if necessary. If you have too much oil it won’t compress and if you have too little it won’t lock. The standard oil is wt10 but I’ve replaced mine with wt7.5 as I’m a light rider.
October 28, 2014 at 11:10 pm
ive adjusted my epicon x2 to 160mm travel.. its way beyond those holes position.. feels good on the compression! but 1 thing ive notice is that it makes a sound upon rebound.. any remedies i can do bout it? of did i just made it too far its 140 limit? hoping for advice
October 28, 2014 at 10:01 pm
Thanks for the response, I replaced the oil and all is back together now, for me im used to motorcycle forks with oil so this is quite a bizzare setup, those bushes that the fork tubes run in must be made of something very special.
May 24, 2015 at 2:16 am
Any reviews or comments on having an 80mm travel? Advantages or disadvantages?
June 3, 2015 at 1:25 pm
I haven’t used the fork at 80 mm. But you’d have less travel for taking big hits and you’d steepen the front end of the bike. A true 80 mm fork would be lighter due to shorter stantions and so on but this obviously stays the same weight no matter what the travel so you won’t gain from that. The only time I would expect anyone to drop this fork to 80 is if their frame is specced for an 80 fork max but they also wanted a fork that could be set to longer travel on their next frame.
June 3, 2015 at 3:13 pm
I cant see any advantages at all, only disadvantages. As Muddy Goose says, a “real” 80mm travel fork would be much lighter. Of course if the frame is designed for an 80mm fork then it will fit OK, but on a frame designed for a longer fork, then all it will do is steepen the head angle which is a bad thing (in my opinion). FYI, ive just ordered a second hand Epicon on ebay to install on my sons bike. He is only 9, and riding a 24″ wheel, but he desperately needs a decent fork to replace the very low end, almost solid coil sprung Suntour that came with the bike. Im going to run the fork at 100mm with a low air pressure, which is 20mm more than the “theoretical” travel on his current fork, and im figuring that the new fork will raise the front end by around 30-35mm and slacken his head angle by a degree or two, which will make the bike much better on the kind of red graded technical trail centre descents that he he is now getting into. Also, seems like a waste of a nice air sprung fork to run it at less than 100mm, and it wont take much when out on the trail to bottom it out lots which isn’t good for a) the fork, b) the wheels, c) the frame, or d) your hands/wrists/arms
June 10, 2015 at 9:50 pm
Hi there,
In the comment thread I noticed that this fork uses grease instead of oil for lubrication in the lower legs. On a forum about the Raidon someone removed the grease and putted 10cc of 10w40 oil in the outer legs from the bottom. So now I am a bit confused. Should I use grease or oil? If it is grease, wat type should I use and should I apply it?
Thanks for reply in advance!
June 13, 2015 at 2:11 pm
It comes greased, so I would grease it. I don’t see the point in filling the lowers with oil unless you want to increase the weight of the fork! This fork has a sealed damper unit, that’s where the oil should be. You only put oil into the ‘open’ damper type forks as I understand it.
June 15, 2015 at 9:11 pm
Thanks for the heads up!
June 21, 2015 at 2:27 pm
Hi there,
Today I heard a clicking/ticking sound from my Epicon fork. It seems to come from the rebound/lockout side and especially when I ride over small bumps like tree roots and/or small rocks. I would to know if you know what this is (is it harmful), and maybe how to solve this?
Thanks,
FJP
June 21, 2015 at 3:52 pm
It could be that your damping cartridge has come apart/loose. That’s what happened to mine. So I took it apart, replaced the oil and reassembled. I don’t know if continuing to ride will cause any damage. If that is the problem then the fork won’t lock out properly too.
June 21, 2015 at 6:06 pm
Lock out is still working fine. Fork has been openened to adjust travel to 110mm (additional hole has been drilled). I will check if tightening lower leg a bit will help. If not I will open it to check the state of the damper.
February 23, 2016 at 6:45 am
Just sucsessfully changed my stock 2014/15 model epicon 100mm to 140mm job went easy enough as per this awesome guide. I simply rested the entire tube and springs on workbench over a fresh drilled hole, with a good punch and hit it 3 times with my ball pein hammer, dont do if you arent confident with a hammer tho, use a mallet lol. To get back in i located the hole with an allen key and got the roll pin started then took allen out n boshed it 🙂
February 24, 2016 at 8:34 am
Excellent. Glad to hear that my guide is still helping plenty of people.
April 7, 2016 at 1:57 am
thanks for this article, learned a lot about this epicon fork. i maintain 3 of this fork -2 manual LO, 1 remote LO.
i have a question now, do i need to take out the air when trying to resolve the rattling sound on the right fork leg? the one with a remote lockout. plus the other fork manual LO is not working also.
April 7, 2016 at 6:57 pm
If your rattling is the same as mine was then you shouldn’t need to let the air out as the air is only in the left side. However when I fixed mine I let it out as a precaution anyway, so I cannot say for sure.
May 16, 2016 at 9:49 pm
what can I use instead of pin driver?
May 17, 2016 at 6:08 am
I have successfully used an appropriately sized hex tool. Makes the job a lot trickier though and increases your chance of failure and potential injury.
May 18, 2016 at 12:35 pm
Id be nervous of using anything other than a pin driver in case of; a) potential to damage the fork, b) potential to damage myself!
May 17, 2016 at 2:56 pm
I can’t completely unscrew the bolt on the lower left fork nor screw it back in, it spins freely. HELP 😦
May 19, 2016 at 8:58 am
Is there air still in the fork? Try letting all the air out so that the fork is fully compressed and then try to screw it back in. It’s possible that the screw has come free from the internals but has caught it’s thread in the lower leg.
May 17, 2016 at 10:23 pm
After some other priorities along the way I am now planning to service my fork and checking the state of the rebound cartridge. also I want to try out 120mm travel. I know that I can pull out the travel adjustment shaft from the bottom of the stanchion. But how should I pull out the rebound cartridg?. Also from the bottom or from the top?
May 19, 2016 at 8:55 am
Th oil filled cartridge pulls out the top of the fork. You need to prise off the lockout cap and underneath there’s a large nut that you need to remove to take the cartridge out. You’ll need a socket set with a suitable sized socket, I can’t remember the size off hand.
May 19, 2016 at 9:04 pm
I ordered a 2mm pin driver. Is that the correct size? I also can order one of 3mm or 4mm